This post is part of a series of posts about Advanced Group Policy Management. If you want to see the other post in this series you can use the links below:
- Introduction to Advanced Group Policy Management (a.k.a AGPM) v4
- How to install the Advanced Group Policy Management Client v4
- How to install the Advanced Group Policy Management (AGPM) Server v4
- How to configure the AGPM client via Group Policy to automatically connect to the AGPM server
- Delegating permission to Review/Edit GPO’s in AGPM
- How to create make changes to Group Policy Objects in AGPM
- How to makes changes to existing uncontrolled GPO’s in AGPM
Installing the AGPM Client
It is best you install the Microsoft Advance Group Policy Management Client on any computer in your organisation that has the the Group Policy Management Console (GPMC) installed. This ensures that all changes to group policy are properly managed using the Advanced Group Policy Management program.
Step 1. Start the Advanced Group Policy Management install program and run the “– Client install.†option.
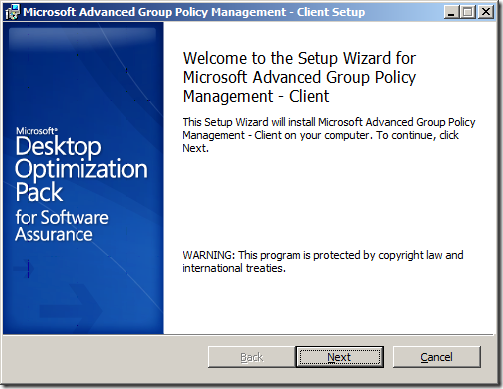
Step 2. At Welcome dialog box, click Next.
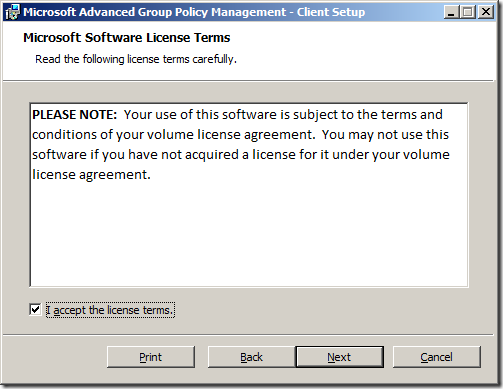
Step 3. Tick I accept the license terms and click Next
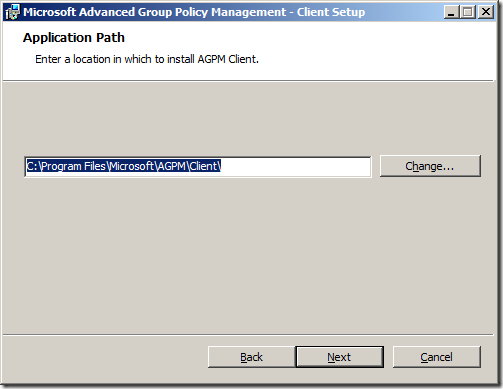
Step 4. Confirm the install patch and click Next
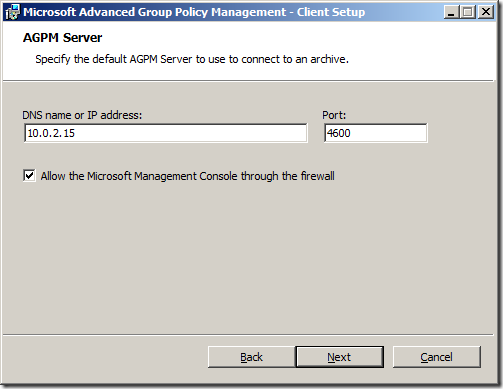
Step 5. Type the IP or DNS Name of the AGPM server and click Next
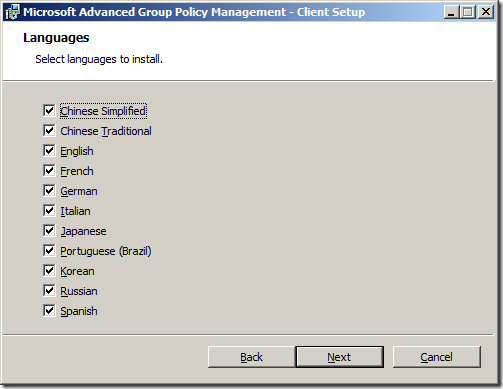
Step 6. Leave all the languages selected and click Next
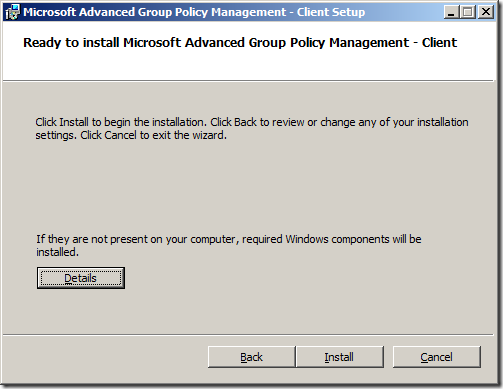
Step 7. Click Install
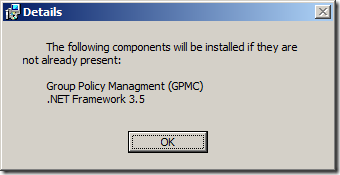
Step 7a. Optional – Click on the Details button to see the components that will be installed.
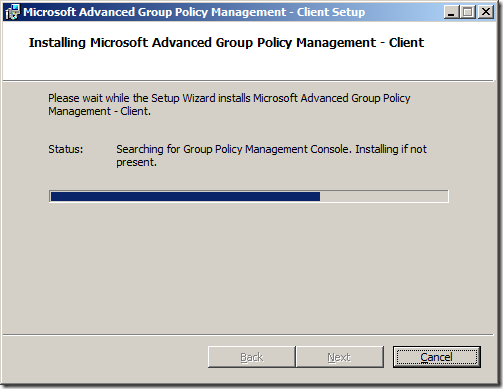
Wait
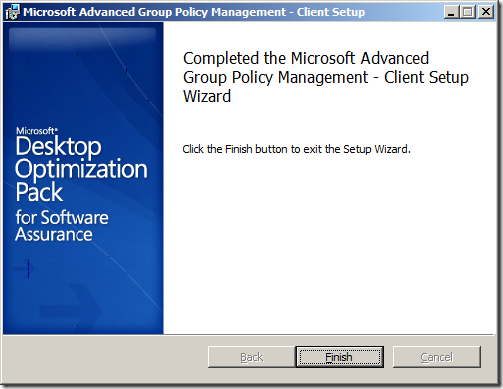
Step 8. Click Finish to exit the Setup Wizard.
NEXT > How to configure the AGPM client via Group Policy to automatically connect to the AGPM server


Blog Post: How to install the Advanced Group Policy Management (AGPM) Client v4 http://bit.ly/aX8tbM
How to install the Advanced Group Policy Management (AGPM) Client v4 http://bit.ly/cauBaR